Bindicator Part 2
Setup
Hello! First thing we’ll do today is make a new repo.
Next we choose a language and runtime for our web service. TypeScript is pretty cool so let’s use that. I want to try out Deno too, so that can be our runtime. We’ll also use Hono, as our framework/request handler.
After you’ve installed Deno use this command to create a new Hono project.
deno run -A npm:create-hono web-service
Now we’ll need to deploy this somewhere. Let’s try out Deno Deploy.
deno install -A jsr:@deno/deployctl
deployctl deploy
Once you’ve authorized that to your GitHub account go to your new project and then domains and then add a domain. We’re going to use bindicator.hannett.dev. If you’re using Cloudflare like I am it’s probably a good idea to turn off proxying when you add your A, AAAA and CNAME records or else you’ll have to think about cache invalidation when you’re deploying new versions.
Quickly add a simple incoming webhook handler. We’ll make this do something useful later.
app.post("/incoming", async (c) => {
  const body = await c.req.json();
  console.log(`Incoming webhook body:\n${body}`);
  return c.text("Thanks!");
});
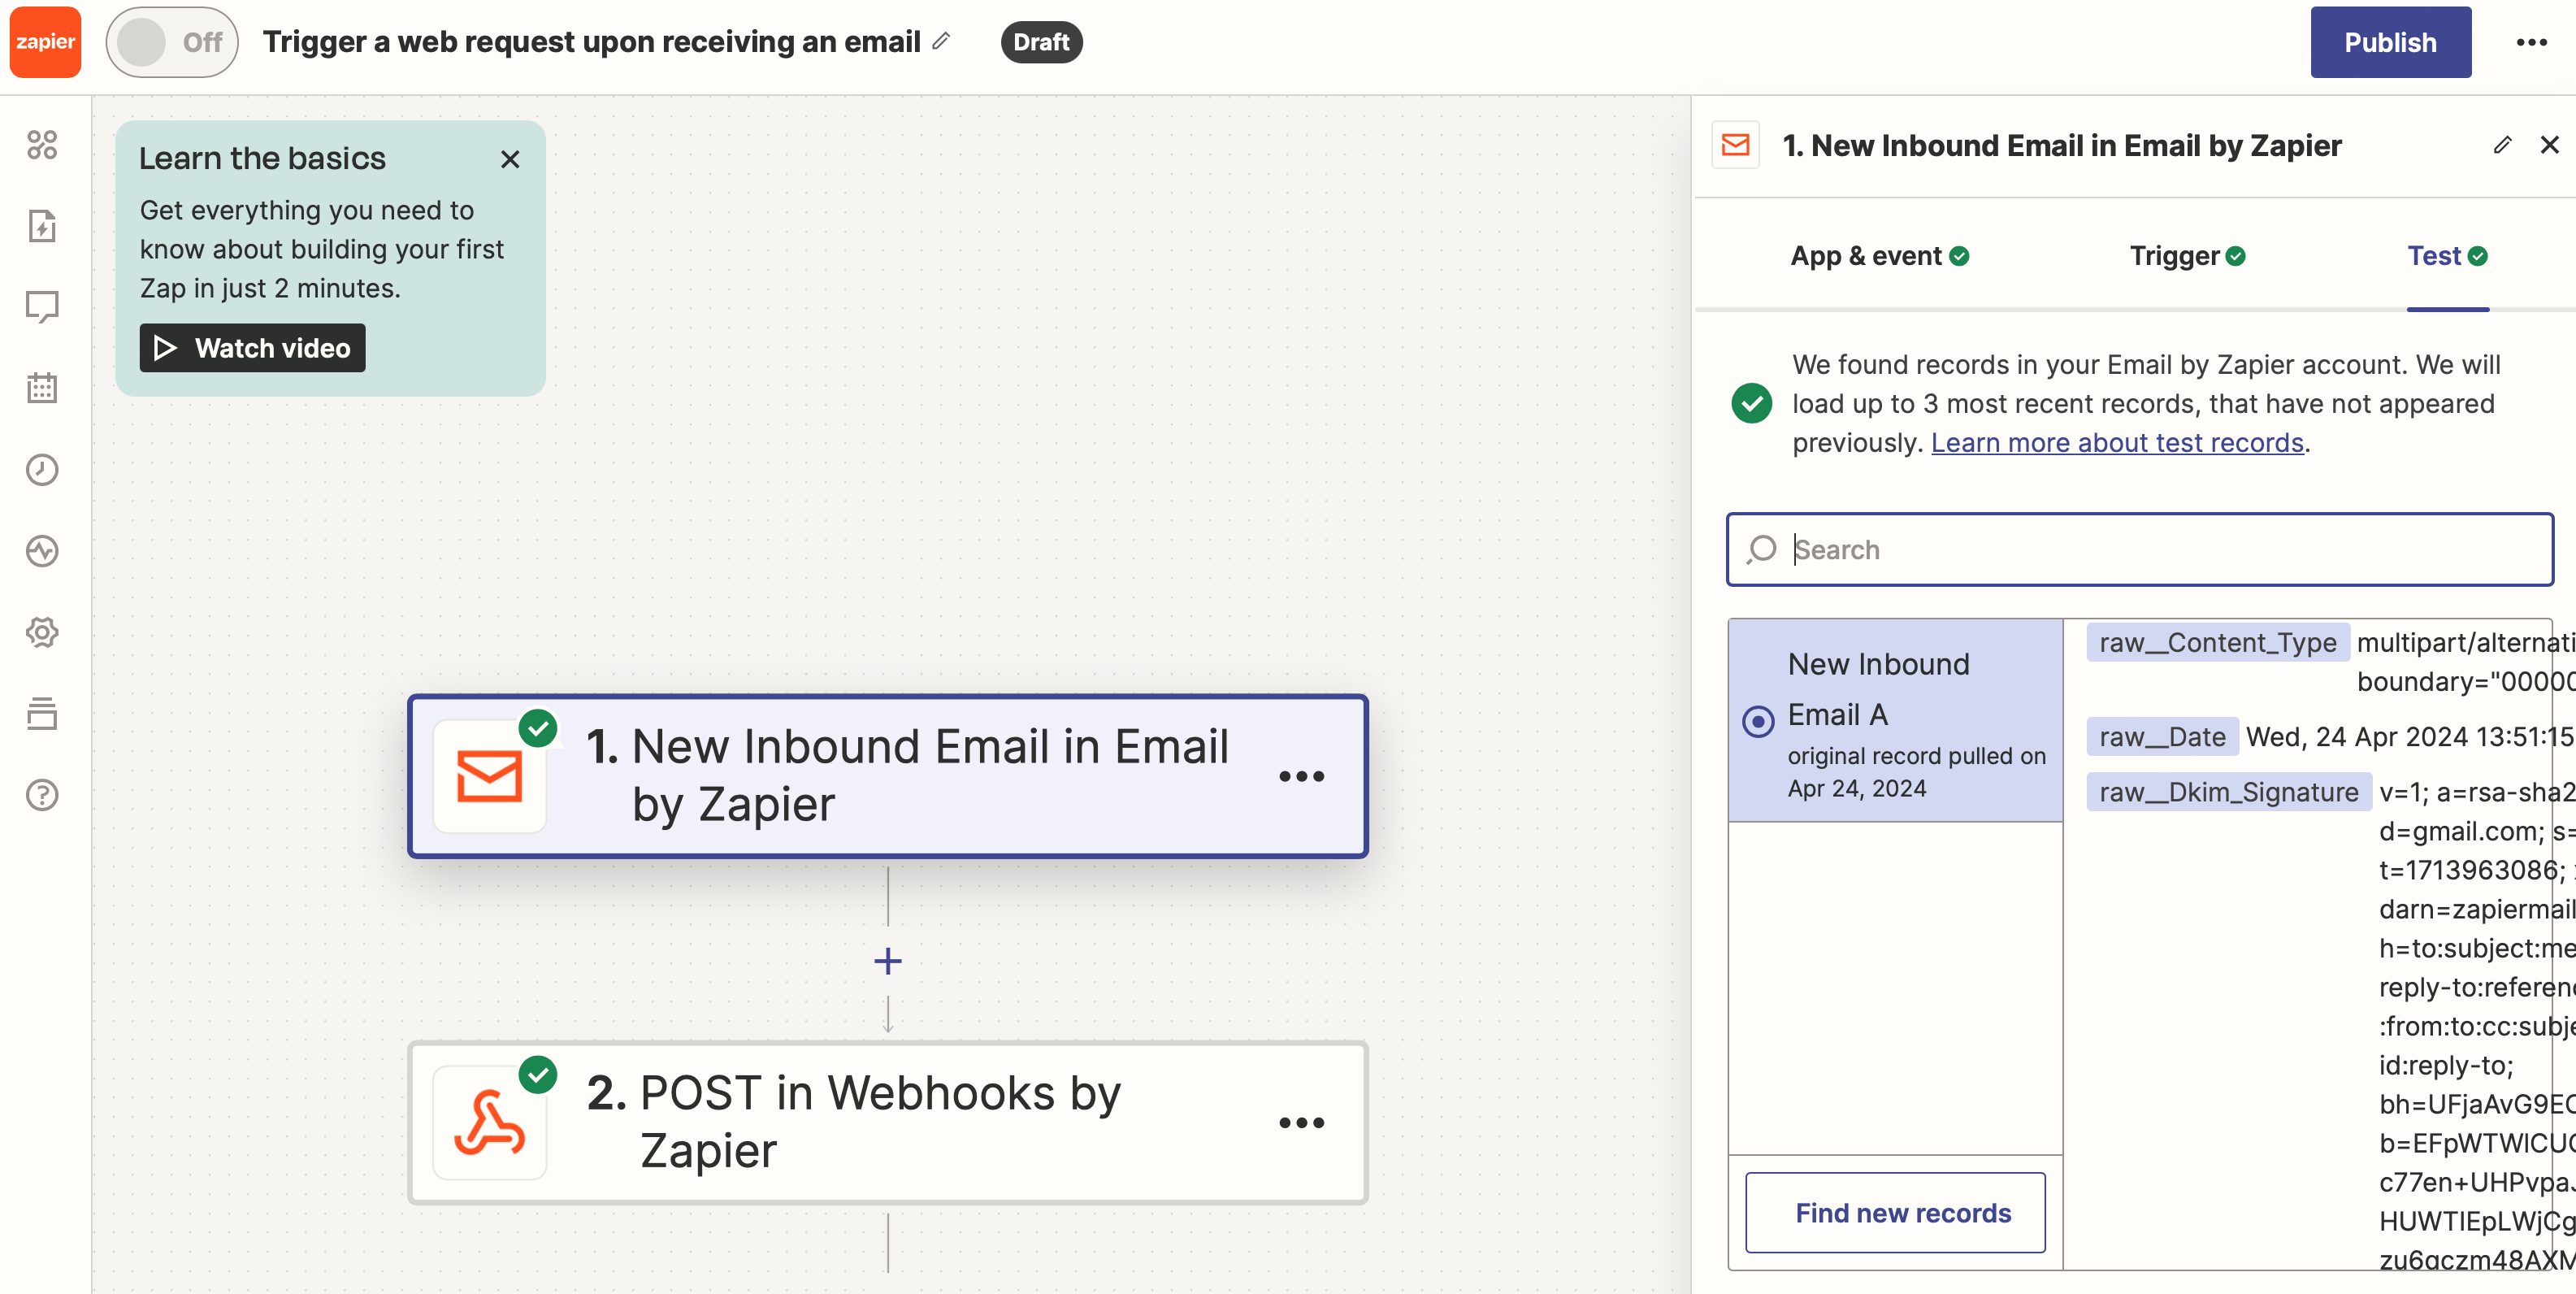
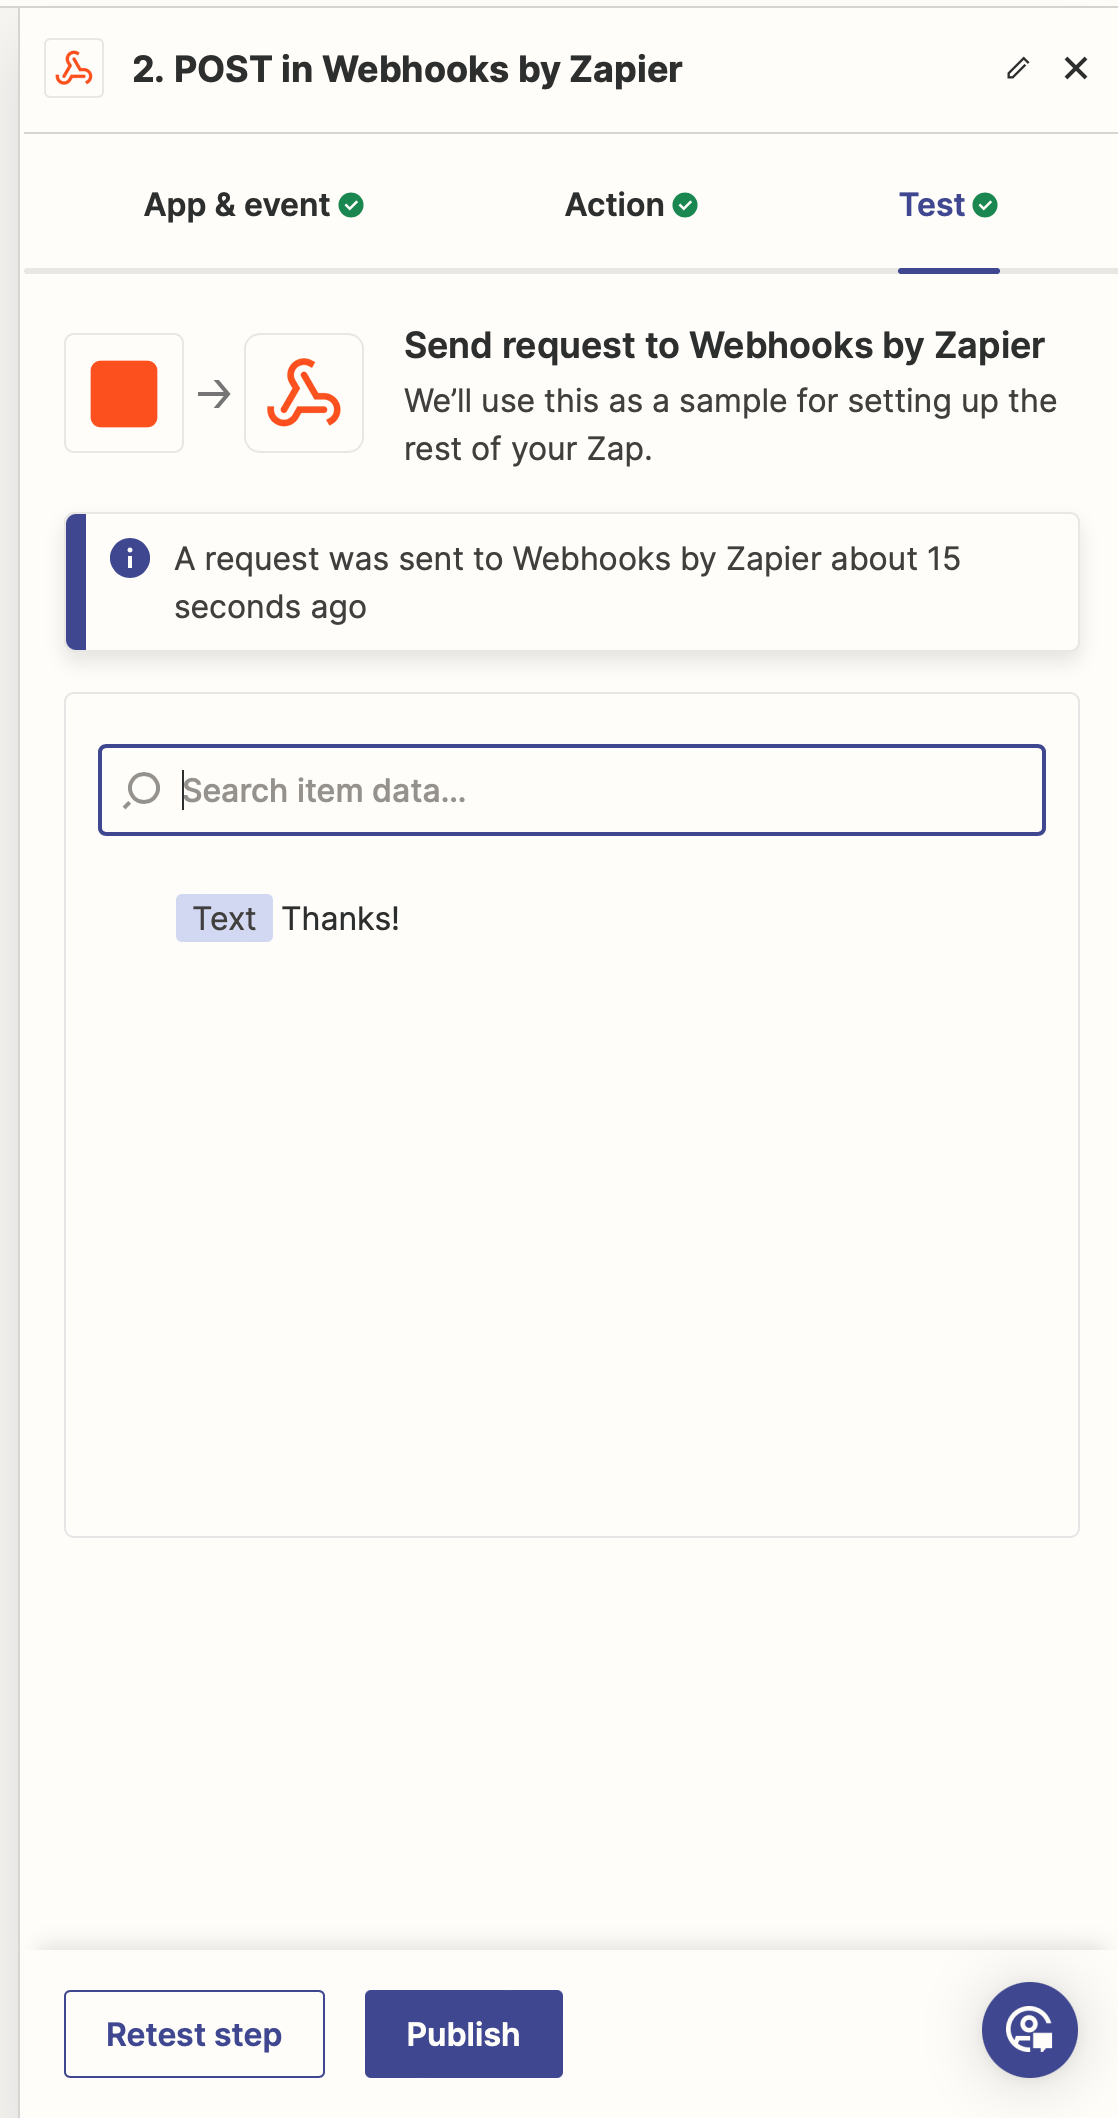
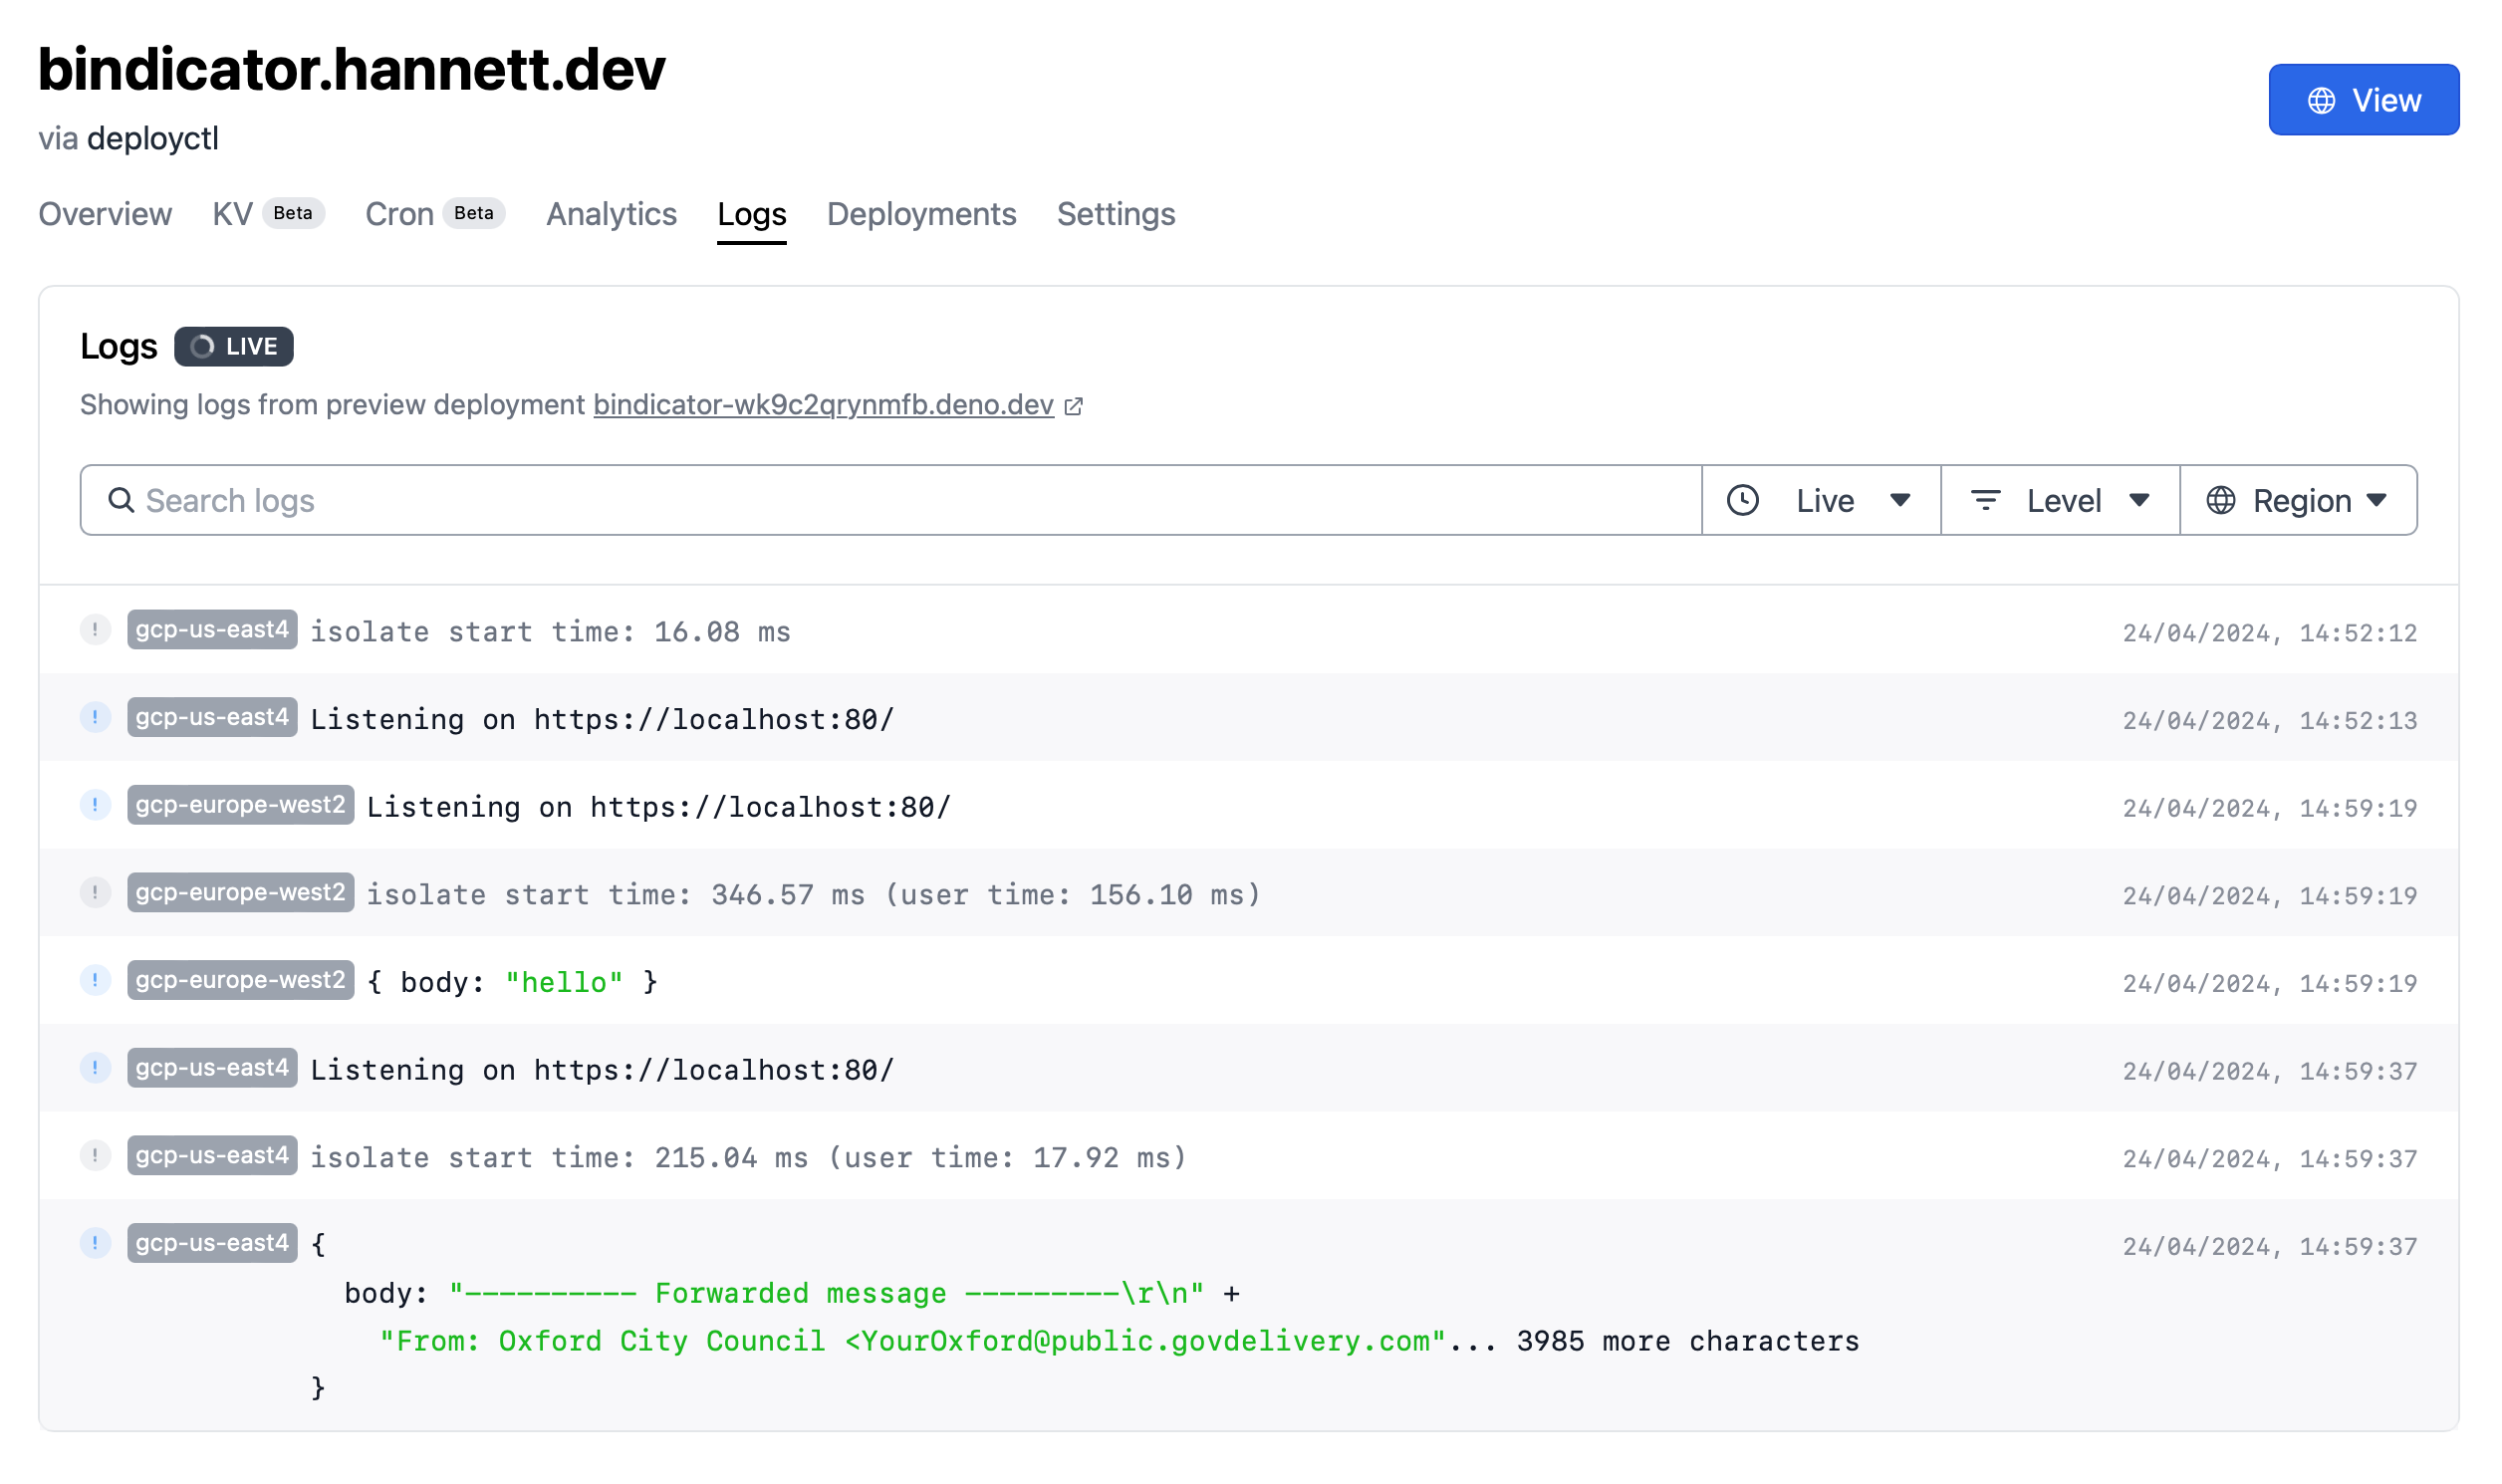
Next we need to set up our data source. As we discussed in the previous part we’re using email for this and I happen to already have notifications sent to my Gmail account. We can reuse these emails by creating a new filter on there which will automatically label and forward emails and we’ll use Zapier to process the email and trigger our webhook as it should be free for our needs1. You can also use IFTTT (if you pay) or Google App Script2 or a bunch of others.
Edit: please see Part 2.75 for how I ended up handling the email forwarding.


Ignore { body: "hello" } in this screenshot. That was a manual curl request.

We’ll need to think about making sure that only authorised users can send data in our system. For now let’s just use a fixed Authorization header. I have used the basic auth middleware from Hono to implement this. For now I have hardcoded a username and password using environment variables.
app.use(
  "/incoming",
  basicAuth({
    username: env["BASIC_USER"],
    password: env["BASIC_PASSWORD"],
  }),
);
Doing Something Useful
Here is an example of the email we’ll get. We’ll need to do some processing on it, in order to extract the pertinent information.
---------- Forwarded message ---------
From: Oxford City Council <[email protected]>
Date: Thu, 18 Apr 2024 at 16:01
Subject: Your bins will be picked up tomorrow, please put them out before
7am
To: <xxx>


Bin Collection Reminder - Friday

Having trouble viewing this email? View it as a Web page
<xxx>
.
[image: ODS and Oxford City Council partnership]
Bin collection reminder

Your next collection is on
FRIDAY,

...and will be for:
RECYCLING (blue bin/clear sack) & FOOD WASTE (small green caddy)

   -

   Please present your bins and sacks at the edge of your property before
   7am on your collection day.
   - You will be notified if there are any changes due to adverse weather.
   - If you have a query about the e-mail reminder service or the recycling
   scheme please e-mail [email protected]

@recycle4oxford
<xxx>

www.oxford.gov.uk/recycling
<xxx>

[email protected]

01865 249811
[image: You Oxford sign up]
<xxx>
------------------------------

You can update your subscriptions, modify your password or email address,
or stop subscriptions at any time on your Subscriber Preferences Page
<xxx>.
You will need to use your email address to log in. If you have questions or
problems with the subscription service, please visit
subscriberhelp.govdelivery.com
<xxx>
.

This service is provided to you at no charge by Oxford City Council
<xxx>
.
------------------------------
This email was sent to [email protected] using govDelivery
Communications Cloud on behalf of: Oxford City Council · Oxford City
Council, Town Hall, St Aldate's, Oxford, OX1 1BX [image: GovDelivery logo]
<xxx>
All of this email is boilerplate except for this small section:
Your next collection is on
FRIDAY,

...and will be for:
RECYCLING (blue bin/clear sack) & FOOD WASTE (small green caddy)
The information we are interested in form a set so rather than build some unwieldy regex it would probably read better to just search the email for these values. All of the values are in all-caps too, which makes them easier to find.
We need to look for days of the week3 (e.g. FRIDAY) and waste types (e.g. RUBBISH, RECYCLING and FOOD WASTE).
Actually! Maybe we don’t need to bother searching for days of the week?
If we look at the subject again we can see that the email is always sent the day before so for now let’s just assume that the collection will be tomorrow and that we want the bindicator to activate ASAP.
function find_date_in_email(_email_body: string): Date {
  return dayjs().toDate();
}
Next we need to work out what will be collected. Let’s first define a collection type so we can pair a specific bin with a colour. This isn’t important now but will be when it comes to building the skull’s code.
type CollectionType = { collection: string; colour: Color };

const COLLECTION_TYPES: CollectionType[] = [
  { collection: "RECYCLING", colour: new Color("blue") },
  { collection: "RUBBISH", colour: new Color("green 4") },
  { collection: "GARDEN", colour: new Color("brown") },
  { collection: "FOOD WASTE", colour: new Color("green 3") },
];
Now we can fairly easily build a function that will scan the email body for each keyword and create a list of the relevant collections for us. A more sophisticated and efficient way of doing this would be to build some sort of custom parser (or even a good regex) but it really isn’t worth the effort for this sort of problem.
function find_collections_in_email(email_body: string): CollectionType[] {
  const collections: CollectionType[] = [];

  COLLECTION_TYPES.forEach(
    (collection_type) => {
      if (email_body.search(collection_type.collection) !== -1) {
        collections.push(collection_type);
      }
    },
  );

  return collections;
}
Now we can update our webhook handler to parse the input and convert it to a more useful form.
app.post("/incoming", async (c) => {
  const body = await c.req.json();
  const collection: WasteCollection = {
    date: find_date_in_email(body.body),
    collections: find_collections_in_email(body.body),
  };
  console.log(JSON.stringify(collection));
  return c.text("Thanks!");
});
Persistence
Using Deno Deploy also gets us a key-value database which will be useful as we will want to persist our data without having to keep a long running process. Also during development we won’t have to constantly call the webhook to refresh our data.
This turns out to be very easy. Open up your KV store connection at the top where everything else is initialised.
const kv = await Deno.openKv();
Then add this to your incoming webhook to save it.
  await kv.set(
    [`${env["BASIC_USER"]}_next_collection`],
    JSON.stringify(collection),
  );
Now we can add a really simple route that will enable us to retrieve the collection data later.
app.get("/next-collection", async (c) => {
  const next_collecton = await kv.get([`${env["BASIC_USER"]}_next_collection`]);

  return c.json(next_collecton);
});
Don’t forget to protect this webhook with authentication too. You’ll notice that I’ve refactored the auth middleware a bit to allow us to reuse it.
// Protect the routes
const basic_auth_mw = basicAuth({
  username: env["BASIC_USER"],
  password: env["BASIC_PASSWORD"],
});
app.use("/incoming", basic_auth_mw);
app.use("/next-collection", basic_auth_mw);
Now let’s deploy this!
deployctl deploy
jameshannett@Jimmeh-MBP ~ % curl --data '@example.json' --header 'Content-Type: application/json' --header 'Authorization: Basic <snip>' --request POST https://bindicator.hannett.dev/incoming
Thanks!%
jameshannett@Jimmeh-MBP ~ % curl --header 'Content-Type: application/json' --header 'Authorization: Basic <snip>' --request GET https://bindicator.hannett.dev/next-collection
{"key":["<snip>_next_collection"],"value":"{\"date\":\"2024-04-25T15:31:46.434Z\",\"collections\":[{\"collection\":\"RUBBISH\",\"colour\":{\"rgb\":[0,139,0],\"a\":1}},{\"collection\":\"GARDEN\",\"colour\":{\"rgb\":[165,42,42],\"a\":1}},{\"collection\":\"FOOD WASTE\",\"colour\":{\"rgb\":[0,205,0],\"a\":1}}]}","versionstamp":"0100000000b03d300000"}%
jameshannett@Jimmeh-MBP ~ %
🥳
example.json is just a file containing the following:
{
  "body": "<the plain text email body from earlier>"
}
All that is left now is to write the MicroPython code to let the skull connect to this web service and then light up which we will go through in part 3.
-
Maybe not. I’ve looked closer and it seems that webhook actions are only included in paid plans. ↩
-
I will put a link here to a guide on using Google App Script for this when I get around to writing it. If you’ve been following along OK you should be able to start here and do it yourself though. ↩
-
This isn’t always Friday, sometimes it will change due to public holidays or bad weather events, so we should check for all days. ↩